Easybeam - getting started
An AI blog post? All the cool kids are doing it, and all the cool adults, even the cool middle aged folk.
So, yes, an AI blog post. Hold on to your potatoes, we're going to look at integrating AI into an iOS app.
Choosing the AI
Before we get started, which AI do we want to use? Already we're in dangerous waters.
Whether you're using Antrhropic, Mistral, Gemini, OpenAI, groq etc your app is going to communciate with their APIs. And that's your first pain point.
Gemini has support for Swift, great. Other services... not so great. Lots of JS (and python) libs abound, you could try going with that if you want to make an app with web views. I don't want to do that.
In fact, I want my app to be as unaware of the AI used as possible, so that I can swap one AI out for another as newer versions are released. I won't be able to do that with Gemini's Swift API, nor any of the other options.
Thankfully, for each AI, communication with the service can be done using REST. So that's a workflow that most developers will be accustomed to.
The problem is each API is different, with varying levels of documentation. Deciding which service you want is going to affect you immediately. Swapping out one AI for another will lead to pain.
If only there was a Swift SDK that provided me with a simple interface, allowed me to change with AI I want to use on the fly, and handled all of the (ahem) idiosyncrasies of each AI under the hood so my pretty little head doesn't feel like it's about to explode.
Introducing easybeam
Well I'm hardly about to tease you like that if I don't have exactly what I need hiding up my sleeve.
I'be been playing with easybeam for a few days, and it's exactly what I was looking for.
Have a look...
Not the most complicated app in the world, sure, but it was knocked out in only a few hours, which would not have been the case if I had to deal with getting aquainted with the API reference for any of the AIs out there.
Easybeam's API, on the other hand, is super easy, barely an inconvience.
Portals
The key to easybeam is the Portal, where you set a prompt that is fed to the AI endpoint. This is your initial setup where you tell the AI what you want.
In the example video above I set a prompt to tell the AI to assume the persona of a chemistry tutor, here's what I have
easybeam prompt
You'll note the @level placeholder in the text, this is so I can specify in the app what level of education the AI teacher is qualified for e.g. British A level, International Baccalaureate etc.
In the prompt above I can choose any of the five AI providers. Once the portal is saved (or Published) a Portal ID is generated, you should make a note of it.
Portal ID bKTFo
All that's left is to handle two more things and we're ready to go.
Keys and Access Tokens
I need to have my own account with the provider I choose in order to set the API key required by the provider's endpoint. Once logged in to the provider of choice I can create the key.
Sample groq keys setup
Note Once the key has been created you will need to copy it to a secure location, it is not possible to view the key in the browser after the initial creation.
This key gives you access to the AI endpoint, and it must be registered in the easybeam dashboard, in the Settings section.
Now that the AI's key has been created and registered with easybeam it can be set as the AI to use in the Portal.
If you want to switch between different AIs to test them you will need to create an API key for each and then in the Portal it's a simple matter of clicking on the AI you want to use.
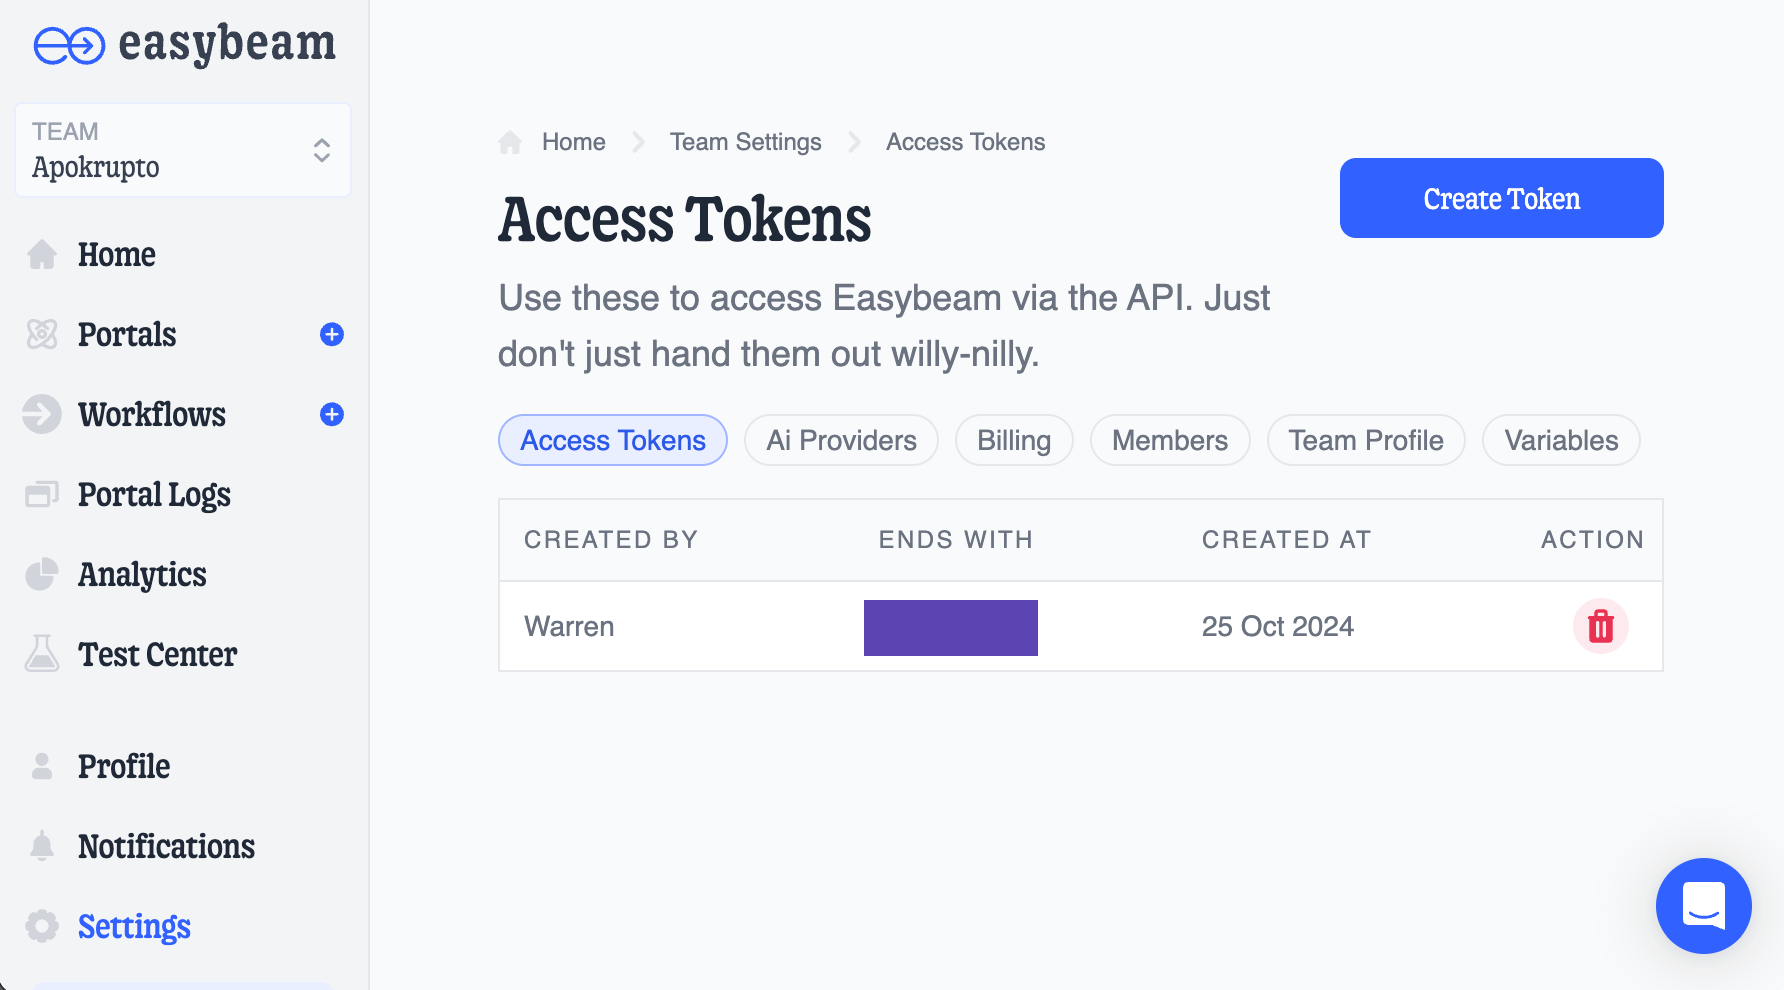
That's that for the AI key, but you're not using the AI directly, you're using easybeam, so you now need a second key or access token. This is also created in the Settings section, and is the key that will be used in your app (the specific AI keys aren't required by the app, easybeam is taking care of that for you.)
Sample Easybeam access token configuration
And we're done! In the next blog I'll go through the easybeam Swift API and we'll see how to use it.


